“The ultimate goal of farming is not the growing of crops, but the cultivation and perfection of human beings.”

Masanobu Fukuoka, The One-Straw Revolution

How to Make a Brooder

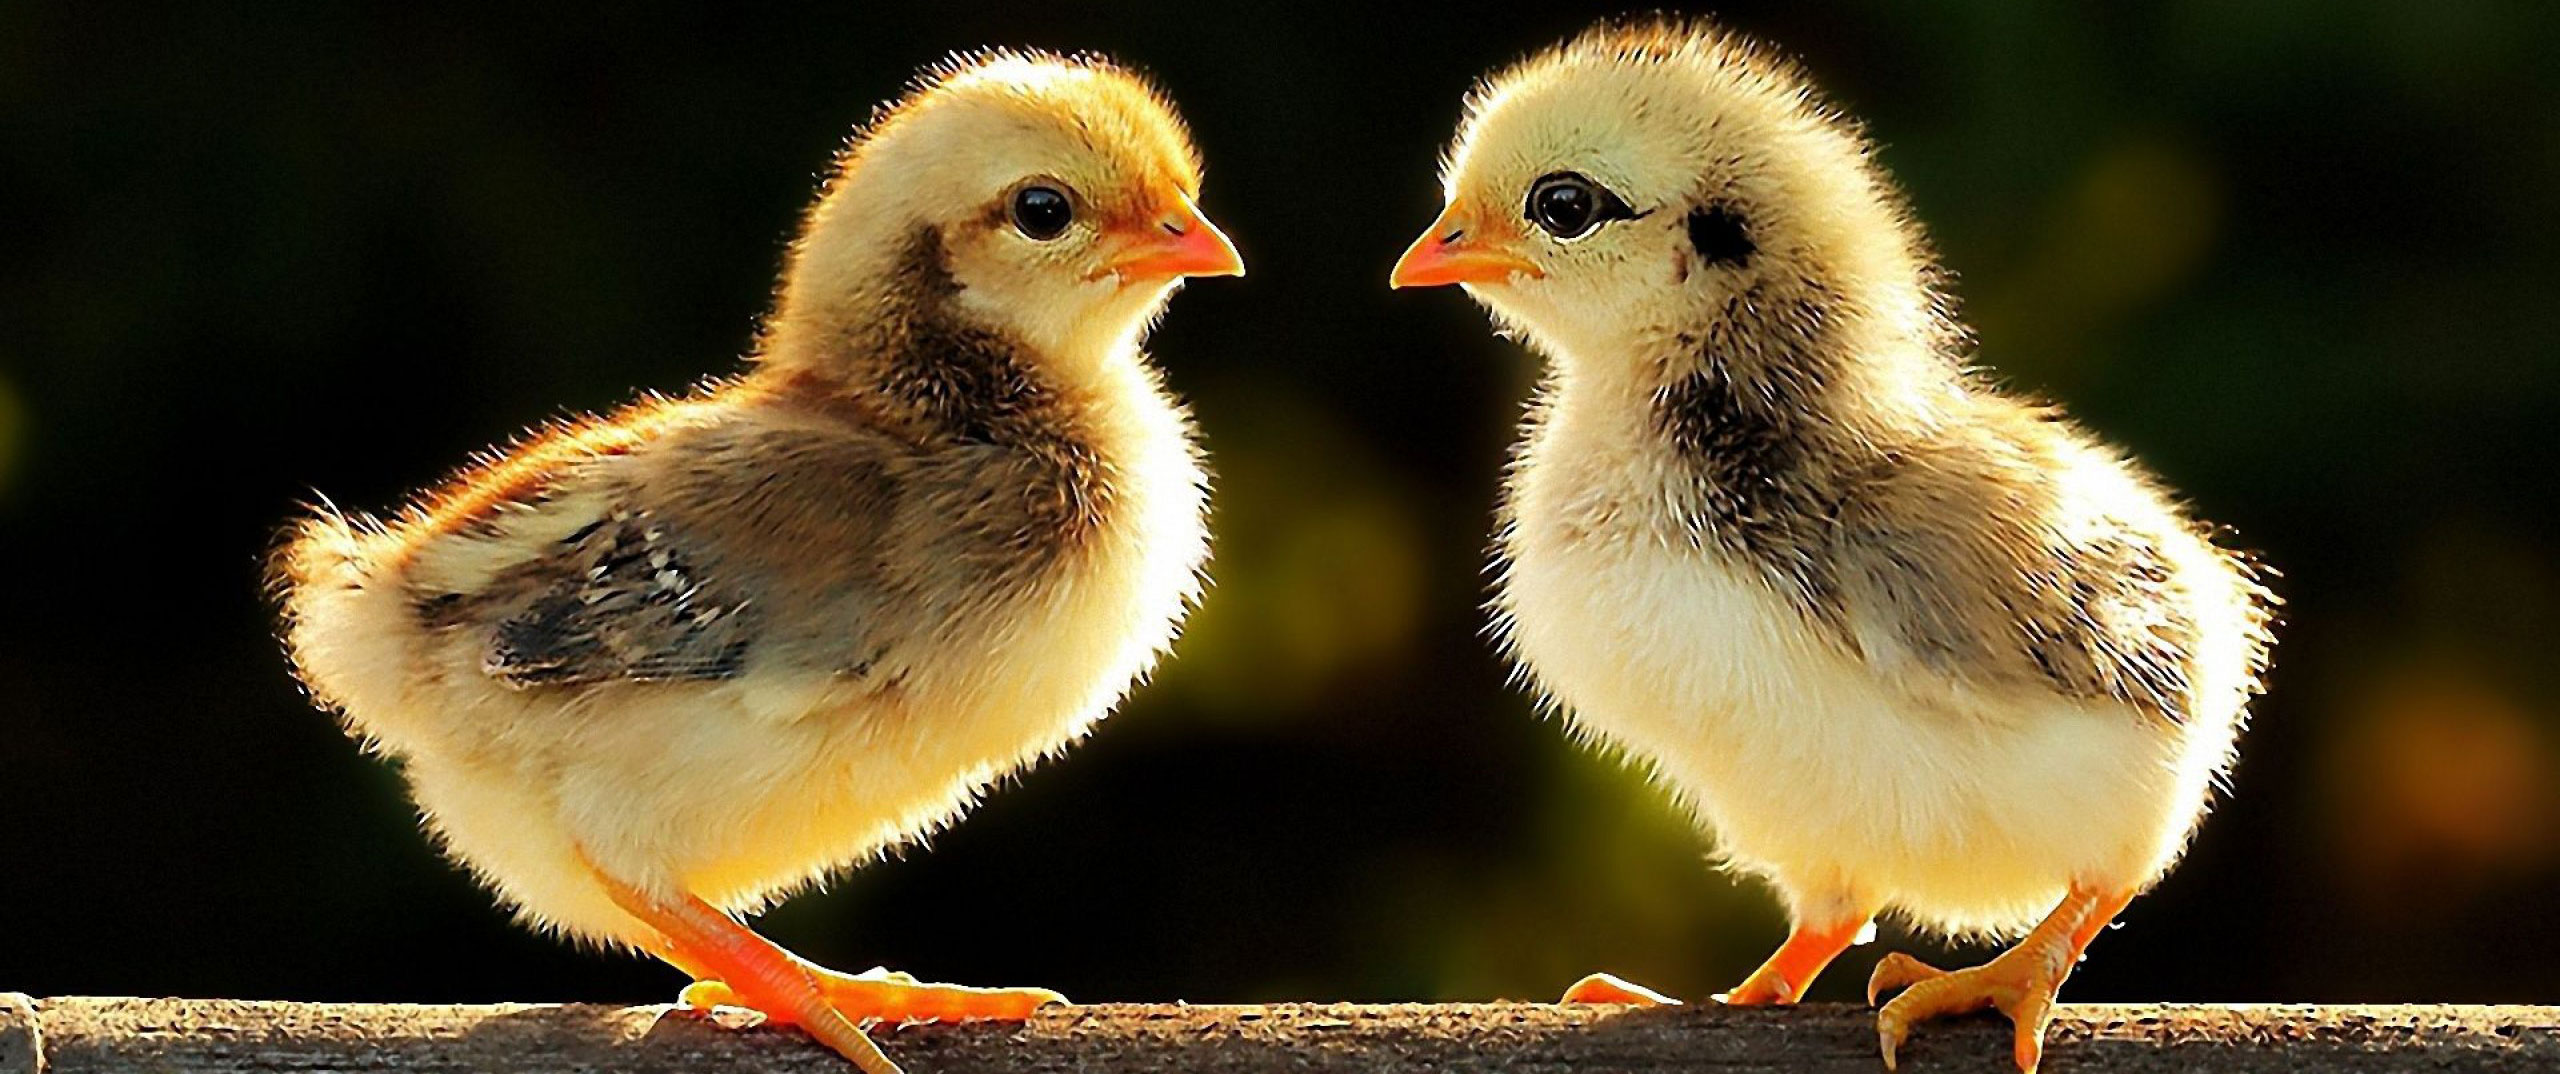
Our chicks and ducklings shipped yesterday (Monday April 16th 2012) and should be arriving tomorrow or the next day.  So it was time to put together a couple of brooders.  I needed one for the 20 or so chicks and one for the couple of ducklings.   Baby chickens and baby ducks should not be keep together because ducks get the brooder very wet which can cause problems for the baby chicks.  We ordered 10 Black Australorps for our laying flock, 10 dark cornish for our meat birds, and 2 fawn runner ducks.

It’s a good idea to have your brooder set up in advance of getting your chicks so they can almost immediately be introduced to their new home, get warmed up, and get some water and food.  This is especially important when ordering by mail as we did.


Continue Reading

Caring for Baby Chicks: Brooder Temperature

It is very important to monitor the temperature in your brooder for about the first 3 weeks.  Around that time is when chicks will begin getting their true feathers which help them to control their own body temperature.

For the first week, keep the brooder temperature between 90-95 degrees. We use a brooder lamp and hang it about 18 in. or so from the bottom of the brooder depending on how many watts the light bulb is.  A red light bulb will help decrease the tendency of the chicks to peck at one another.  Set up the lamp so that it can be adjusted up and down to increase or decrease the temperature of the brooder.  We put a  cheap thermometer on the floor of the brooder, directly under the lamp to monitor the temperature.

Reduce the temperature of the brooder by raising the lamp an inch or so.  You will want to reduce the temperature by 5-10 degrees per week until the brooder is at a temperature of 70 degrees.  This allows them to gradually acclimate to cooler temperature they will experience outdoors.


Caring for Baby Chicks: Feed and Water

chicks feeder waterer

Chicks can easily become dehydrated so always have fresh water available for them.  When introducing chicks to their brooder, dip their beaks into the water first.  This is especially important if you ordered them through the mail.    A common cause of chick loss is not eating or drinking soon enough.  This introduces them to where their water is and once they get hydrated and warm they should easily find their feed.  Add about 3 tablespoons of sugar or honey to each quart of water for the first day or two.  This gives them an added boost of energy to get off to a good start.

We use a watering base fitted with a mason jar to provide our chicks water.  As the chicks get older and are drinking more, we will switch to a larger watering base style waterer.  We will continue to use these waterers when the chicks move out to pasture, but we are planning on possibly trying out the Avian Aqua Miser chicken waterer.


Continue Reading

Bringing Home the Bacon

pigs

Piglets with sow at the farm we purchased them from

Last week we added 2 pigs to our homestead.  We have never raised pigs before so this will be a true learning experience for us.  We found these pigs posted on craigslist.  We purchased them for $45 a piece and the drive was about 1 1/2 hours away.


Continue Reading

Ducks Move Out to Pasture

ducks 4 days old

4 day old ducks

We moved our fawn runner ducks out to pasture this week.  They are 3 weeks old and seem to be ready to handle the outdoor environment.  We really needed to move them outdoors considering they were almost taller than the walls of their brooder.  Also ducks are very messy with water.  We were constantly adding more shaving or changing out the brooder and adding all new shaving because the whole brooder would be wet.


Continue Reading

Chicks Move Out to Pasture

The blue plastic swimming pool in the picture above is the temporary pond for our 2 Indian Runner ducks that also live in the pasture area.  We will be digging them a permanent pond at a later date

We moved the chicks from their indoor brooder in our basement to outdoors at 5 weeks old. After making some repairs to our old chicken coop and putting up the pasture fence, we were finally able to get them out of the house into some fresh air.

The pasture will eventually become more of a forest pasture/garden.  It currently has a couple of young apple trees and a couple of mulberry trees.  It is about 1700 ft². We still have another area to fence in, that has more mature fruit trees and shrubs.  We plan on alternating the laying hens between the 2 areas.


Continue Reading

What to do with Unripe Pumpkins and Winter Squash?

We will possibly be getting our first frost of the year tonight. I harvested the rest of the butternut winter squash and Seminole pumpkins. Many of them where still not all the way ripe. So I was wondering what you could do with unripe winter squash and pumpkins? According to a blog post I found, you can clean them up, bring them inside, and put them in a warm sunny place to finish ripening.


Using Pigs to Build and Improve Soil

pasture pigs rooting

We are using our 2 hampshire x yorkshire pigs to build and improve soil in areas around the homestead.  Pigs are great at clearing a grassy or sod area of vegetation and rooting and tilling the soil.  I’ve heard them being described as colonizer livestock, meaning they are good at coming into an area and clearing it for a clean slate or fresh start.  

Once we added an additional panel to the pig tractor, they immediately started grazing and rooting and had the new area cleared in a few days.

The pigs stayed in their first location for about 5 weeks.  They pretty much cleared the area of all vegetation and did a fairly good job at tilling up the soil.  The soil in this area was very compact.  After we moved the pig tractor to a new area, l worked the area up and formed a circular permanent raised bed.


Continue Reading

Early Garlic Harvest

early garlic harvest 2012

This year we harvested our first garlic on the 5th of June.  This is our second season to have a garlic harvest and I couldn’t imagine our home without it.  Because of garlic’s flavor and many medicinal benefits (antiviral, antibacterial, antifungal, helps prevent heart disease and cancer, etc), we include it in many of our meals.

The first batch of garlic we harvested was California Early variety


Continue Reading

Little Giant 3 Gallon Plastic Poultry Waterer Review

little giant 3 gallon plastic poultry watererWe recently bought a Little Giant 3 Gallon Plastic Poultry Waterer for our ducks and chickens.  It looked like it would be a great waterer for the ducks.  It has a deep bottom  dish which is great for the ducks to dip and clean their bills in.  When I got it home and filled it up, the water just keep pouring out of the bottom hole and overflowing.  I couldn’t figure out what I was doing wrong.

The instructions on the outside basically state to unscrew the small black cap and place it on the bottom opening to plug the water flow.  Then you unscrew the top cap/handle and fill with water.  It says to be sure not to over tighten the cap.  So I followed the directions, set it up, unscrewed the small black cap and the water just started pouring out, filled the bottom dish and poured over.  It drained almost all 3 gallons.  I thought it might be that it needed to be more level, but leveling it out didn’t help.

I finally found the fix to the problem explained on the underside of the top screw on cap/handle.  There are a few instructions on the underside of the cap explaining how to create a vacuum in the container, allowing the water to slowly come out as the water level in the drinking dish goes down.


Continue Reading

Chicken Coop Folk Art

Happy Father’s Day to all of the Dads out there. My wife and kids added some cool folk art to the chicken coop as a surprise for Father’s Day. They did an awesome job! Surprises like this are really special and I’ll be reminded of this Father’s Day everyday when I visit the coop.


Continue Reading

How to Weigh a Pig

pigs

When I started researching information on raising a few growing-finishing pigs, one of the questions I had was how long do I keep them before it’s time to slaughter and butcher.  I found that most people keep them until they are around 220-250 lbs.  Past this weight it becomes inefficient economically to put on more weight.

O.K. cool.  Simple, I’ll just raise them until they are in that weight range.  Not until we actually got the pigs did I actually think about how I’m going to weigh a pig.  I don’t have a scale big enough for a pig. Luckily there is a simple method to approximate the weight of a pig using a string and a tape measure.

To get an approximate weight (W) of your pig you need to take 2 measurements and plug the numbers into a formula. First take a measurement of the length (L) of the pig.  Measure from the base of the tail to the head between the ears.  Then measure the girth (G) by taking a measurement around the pig just behind the front legs.  If you don’t have one of those cloth measuring tapes, you can use a string and then just measure the string length in inches (in).


how to weigh a pig

Plug your measurements into the following formula:

W = (LxGxG)/400in

At 122 days our pigs measured out as follows:

Boar – L – 39in, G – 34in, W = (39x34x34)/400 = 112 lbs

Gilt – L – 36in, G – 31in, W = (36x31x31)/400 = 86 lbs

I’m not sure if these weights are on target but they seem to be very happy and healthy pigs.


Storing Onions in Old Pantyhose

storing onions in pantyhose

While researching on the best ways to store our harvested and cured onions, we came across many examples of people using old pantyhose as a way to contain and store onions.  The pantyhose allow for good air circulation and keep individual onions from coming into contact with one another.

We cured our onions on our west facing front porch were they could keep dry and received a lot of hot afternoon sun.  We cut the tops off of the onions leaving about 1 inch.

Ideally onions should be stored in an area that is cool, moderately dry with temperatures around 32-40° F and relative humidity around 65-70%.  In our house, the basement is the area that comes closest to meeting those requirements.  I doesn’t get that cold in our basement and the humidity might be a bit higher (not sure).  This year we are going to just hang our onions in a kitchen corner and see how long they last.


Eastern Black Swallowtail Caterpillar

These Eastern Black Swallowtail (Papilio polyxenes) caterpillars are everywhere this time of year and they are especially fond of our fall dill and other plants in the carrot family (Apiaceae).  Check out there wiki page for more information on black swallowtails.


Using the Power Plucker Saves Time

power pluckerWith 2012 being the first year we raised chickens for meat, we had a huge learning curve on how to butcher our own chickens.  With the first spring flock, the butchering process was very slow.  It was taking us 30-40 minutes to pluck 1 chicken.  We raised 25 more in the fall of 2012.  This time the plucking time went much faster.  For one, we were more experienced and had learned from our mistakes.  We also had a new tool called the Power Plucker.

 
plucking 2

Bird after it has been scalded
and before using the power plucker

As shown in the photo above, the power plucker is an insert for a hand drill with six rubber fingers on the end.  The drill turns the rubber fingers and as they make contact with the scalded bird, most feathers are removed.  See the video below.

We found the easiest way to use the power plucker was to have one person hold the scalded bird by one leg and the other person use the power plucker by moving it around the bird.  They have recommended instruction on their website.


Continue Reading

New Start

raccoon in havahart trap

We are well into 2014 and I’m ready to get back to blogging and documenting/sharing what we are doing again.  In the fall of 2012 I took on a part time job as an adjunct professor teaching an introduction to World Geography online course.  I’ve been teaching 1-2 classes each semester including summers since then (in addition to my full time profession).  This has taken up a lot of my extra time that I was using to focus on the blog.  This might be the last semester for me.  Teaching, though rewarding, just isn’t for me.

During this time, activities on the homestead didn’t stop.  I had many things to share, just not enough time.  I have a revived feeling of excitement to start blogging again and focusing more on building our micro-business from products and services of our homestead.

The photo is a raccoon I trapped recently.  Over the winter we have lost 2 ducks and 1 chicken.  This guy showed up at the chicken coop on the wrong night.  I gave him to a friend who is a trapper.  I included the photo to symbolize how I felt at times (trapped).  I’m glad I was given the opportunity to teach, but in my heart I knew I wanted to be writing on my blog and working more on homestead related activities.


The Basics of Using a Hova-Bator Incubator to Hatch Your Own Chicks

hova batorWe use the Genesis 1588 Hova-Bator to incubate and hatch our chickens and ducks for our homestead.  The incubator comes with a very informative instruction manual that explains the set up and operation of the incubator.  This post will give anyone interested in purchasing an incubator (specifically the 1588 Hova-Bator) a good understanding of the basics of the process.  In 2013 we hatched one batch of chickens in the spring and one in the fall using the Hova-Bator with very good success.  The information will be a based on our experience using the incubator based on the instructions provided and thePermaculture Chicken: Incubation Handbook by Anna Hess.


Continue Reading